ARE LAND ROVERS EASY TO RESTORE
Posted by: Admin Tags:Restoring Land Rover, Car Restoration, Land Rover Posted date: 01-08-2022

Are Land Rovers easy to restore? If you are looking to restore a Land Rover, this article goes over the steps of restoring your Land Rover.
WHAT IS THE MOST IMPORTANT PART OF THE LAND ROVER RESTORATION PROCESS?
As with any major undertaking, the most important part of restoring a Land Rover or Range Rover is having a thorough project plan and schedule. Nothing will make the process more difficult than stopping whenever you need to make a decision to order new parts. And once you do this, every other decision afterwards will undoubtedly be affected too.
Before starting, you need to work out every tiny aspect of restoration projects, including your skills and the tools at your disposal. You might even need to check the available supplies in your local area in case you run out or find you need something you don’t already have. Being honest about your ability will give you the best plan for your project and ensure success.

You will also want to consider how you will use your classic Land Rover once it has been restored and is back in the world. If it’s going to be more practical than decorative, this will affect what your restoration project will focus on. Your location will also affect your project, given that those living in areas where corrosion is more prone will need to take steps to mitigate this.
Of course, if you’re working with someone else to restore your Land Rover, communication will be key. Having a thorough plan and discussing each stage in detail will ensure things run smoothly. With effective communication, both you and the people you are working with will know what they are doing at each stage of the project, and you can discuss any issues or challenges that arise to take action and remedy them.
JAGUAR LAND ROVER RESTORATION PROCESS
If you’re wondering what the average Land Rover restoration project involves, this article will take you through the process step by step. This isn’t a full guide for anyone attempting a DIY restoration. If you don’t know what you’re doing, you can still have fun learning all about your Land Rover as you gradually restore it. Alternately, if you have the money, you can choose to ship your chosen vintage Land Rover to a professional restorer and pay their costs. Either way, the process of restoring your first Land Rover will follow similar lines to this.
SELECTING A CORE VEHICLE
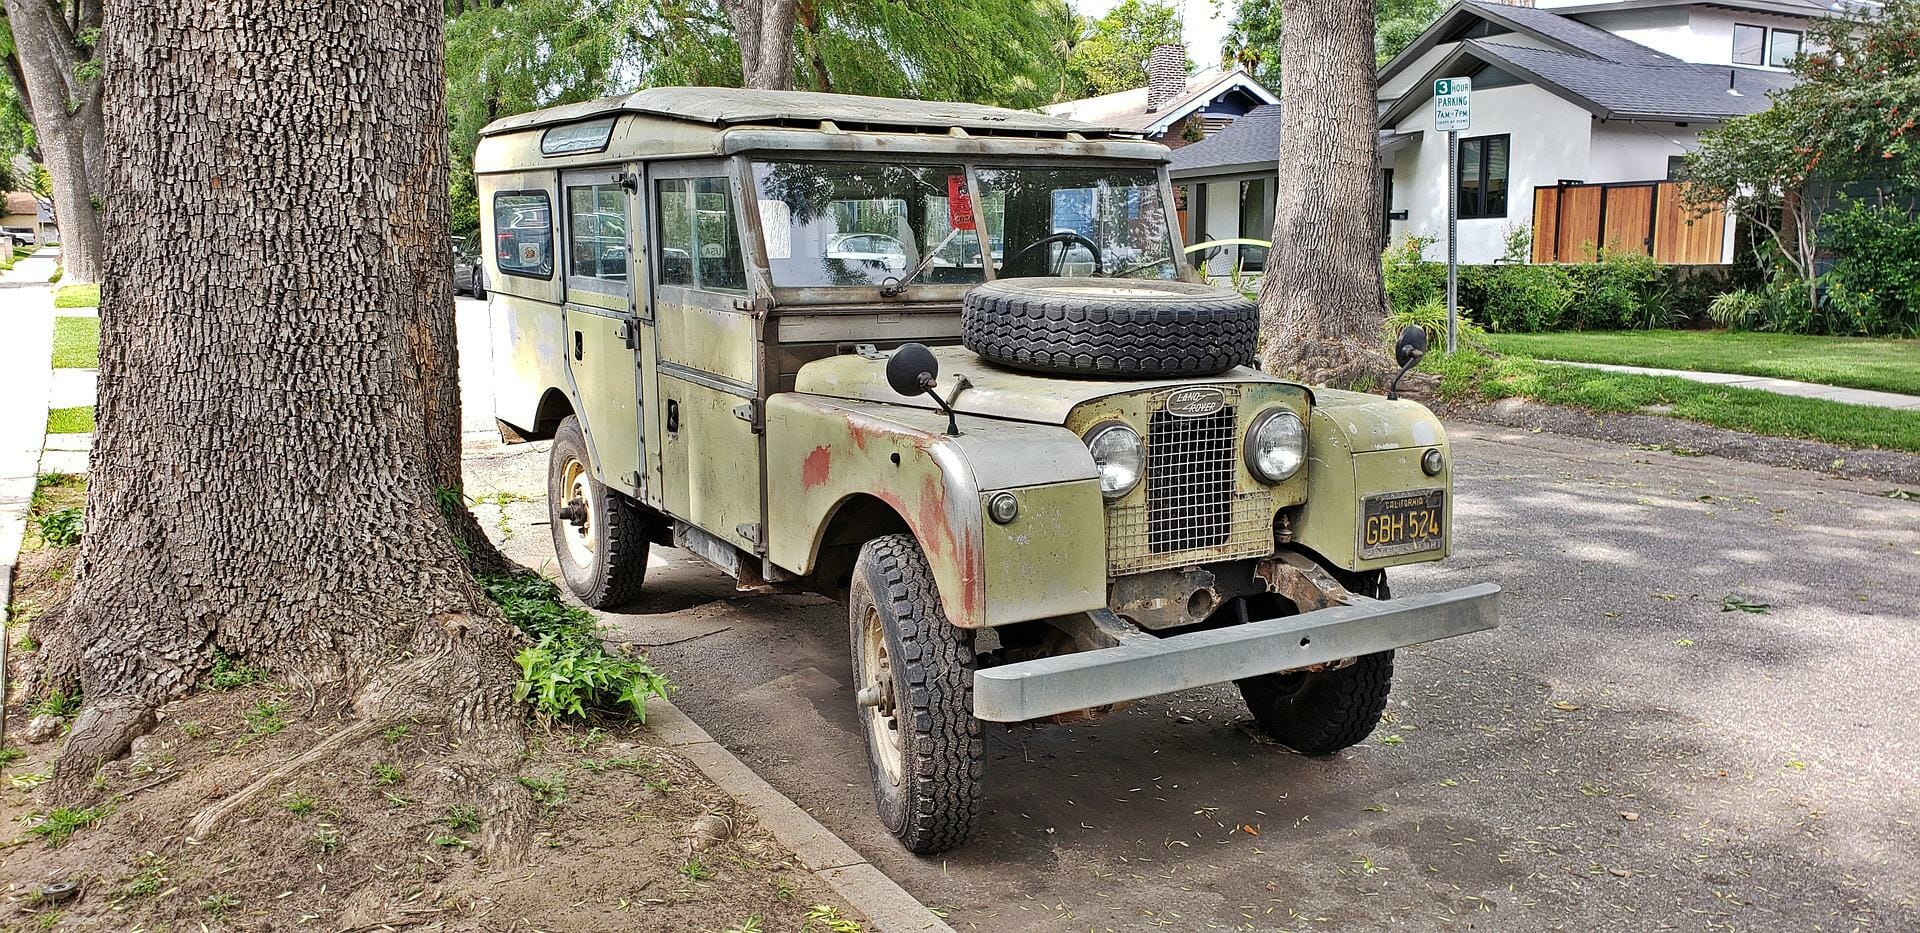
It goes without saying that if you want to undertake a restoration project, you’ll need a core Land Rover vehicle to start with. In most cases, those looking to start a restoration project will already have a Land Rover vehicle or at least one in mind that they intend to purchase. Otherwise, you’ll need to do a bit of research about which vehicle is best for your restoration ideas and goals.
We find that Series IIs and Series II As are usually the most popular for Land Rover restorations. The latter are easily recognisable thanks to the headlights positioned within the grill for those produced between 1958-68, with the models that came out of the factory later from 1968-71 having the headlights in the fenders. Of course, whichever one you prefer to work on depends on your tastes, and you can choose whatever model Land Rover you wish.
BODY WORK STRIPPED
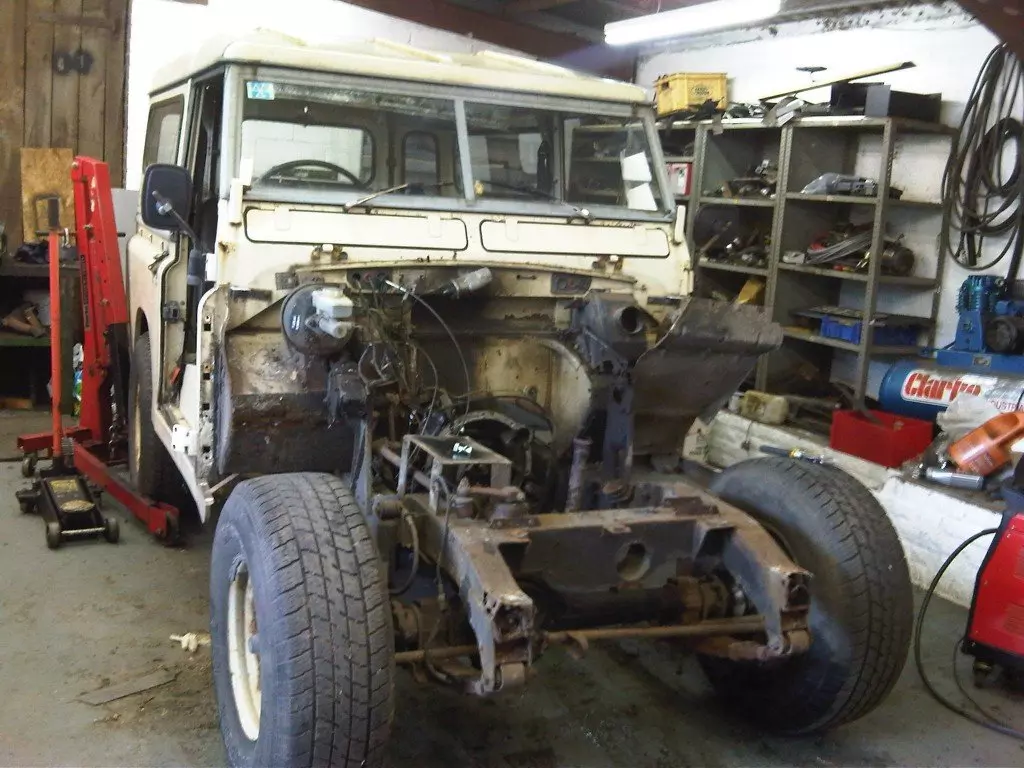
Once the Land Rover is disassembled, each of the bodywork panels will be stripped down to the aluminium beneath. This allows you or your restorer to hammer out any dents and take a welding torch to any holes. If any part of the bulkhead steal is revealed to be too damaged after sandblasting, any rusted areas should be cut out with new steel welded in.
If any parts are completely beyond repair due to damage and corrosion, they’ll need to be replaced. Once you or your restorer has done this, the next step is to mock up the body shape on the chassis to ensure it all fits properly. After the bodywork is disassembled again, you will then repaint each panel. Depending on how protected your Land Rover needs to be, you may want to consider painting both sides of each panel to ward off corrosion.
LAND ROVER DRIVETRAIN
After repairing and repainting the bodywork, the drivetrain is your next priority. This is where things get very technical, and the changes you can make to your Land Rover engine can be quite dramatic. Hundreds of intricate components can be tweaked to improve performance and create more powerful engines. They’re usually complicated to restore, especially if certain parts are too damaged and need to be replaced or rebuilt.
Additionally, if you know anything about Land Rovers, you know how unreliable they tend to be. However, one of the main reliability issues they commonly run into regarding the powertrain is oil leaks. But you can easily remedy these with modern materials and upgraded components. If your Land Rover is particularly old (typically from the 1960s), you’ll need to make changes regarding the carburettor.

Petrol had a higher boiling point back in the day, so you might run into vapour lock or other overheating issues for an old Land Rover using newer fuel. An easy fix is to fit some electric fuel injectors into the engine alongside your carburettor. Once you’ve made all the changes and repairs your engine requires, you can place it back into the frame and move on to your transmission.
If you thought the engine was technical, you’ve not seen anything yet. Most II A series Land Rovers don’t have synchronised gears, meaning you or your restorer will need to double-clutch the transmission. This is something of a forgotten art today, and if it’s done wrong, you run the risk of wrecking the whole transmission. Alternatively, you can always fit a different transmission that is more simple and doesn’t require double clutching.
LAND ROVER FRAME
Despite the Land Rover chassis being notoriously simple and robust, older ones are notorious for suffering from rust, thanks to the tendency for dirt and rust to become trapped inside it. Therefore, for most old Land Rover restorations, you’ll want to replace the original vehicle frame with a new galvanised chassis made from stainless steel. You might also want to swap out the old suspension for fresh springs. Given that the original suspension in most Land Rovers was made to carry heavy loads, they aren’t too comfortable in their original state.

After the suspension, you need to consider your tyre choice. Of course, you can opt for original spec tyres if you’re going for a completely faithful restoration.
However, much like some of the other components we’ve gone through, you’re usually better off replacing them with modern alternatives.
There are plenty of tyre types that look similar to the old ones but provide additional safety features that modern tyres have.
After the tyres, you must rebuild the steering box with new tie rod ends. Again, tie rod ends are another component you will want to replace for newer pieces, given that the old ones will not usually be in good condition. Similarly, the brakes on your Land Rover will also be quite poor. They were only just passable in the 1960s, so if you’re restoring them now, they’ll be well past usable. You can install a safer, modern braking system with discs instead of drums to ensure your safety.
However, much like some of the other components we’ve gone through, you’re usually better off replacing them with modern alternatives.
There are plenty of tyre types that look similar to the old ones but provide additional safety features that modern tyres have.
BODY ASSEMBLY
When reassembling your Land Rover’s bodywork, any points of the aluminium panels that make contact with the galvanised steel frame must also be galvanised. This involves coating the aluminium in a layer of zinc to prevent galvanic corrosion. You may also want to top up the galvanisation of other bodywork components that might be worn.
We don’t recommend using the nuts and bolts you removed at the start, as you can expect them to be in poor condition. Replacing these with fresh steel or galvanised alternatives is best for responsible restoring and ownership.
When it comes to your doors, the tops of those on Land Rovers are prone to rust, so protecting them with a layer of aluminium should last your Land Rover the rest of its life. Fresh window glass is also a good idea to rejuvenate your Land Rover’s look. Of course, before you fit the doors and windows, you need to install the bulkhead, windshield frame, tub and soft top hoops.
While all the replacements and modifications are supposed to improve performance and safety, the ultimate dream of a restoration for Land Rover enthusiasts, or any fan of classic vehicles, is the aesthetics.
INTERIOR DESIGN
What most people find so attractive about the interiors of old Land Rover vehicles are their simplicity and minimalism. The grey upholstery, large and simple steering wheel and all-metal dashboard should all be maintained as well as you can.
The consistent colour scheme on the outside as well as in, along with the plastic-free, rivet-filled serious interior space, gives you the real Land Rover feel. Sitting in a newly restored Land Rover Defender is quite a feeling, especially if you’ve been there throughout the process. Of course, you can request any interior decoration if you use a professional restorer.
VEHICLE DISASSEMBLY
Once you’ve chosen the Land Rover you want to restore and have either got it with you or shipped it to your chosen restorer, it needs to be fully disassembled. And we mean fully. Every bolt and screw will come out so you or your restorer and their team can begin repairing and preparing the parts for the project.
If you have sent your Land Rover to a restorer, they will usually send you photo updates to keep you informed of how the project is going along the way.

For more information of how our Land Rover restoration service could be of benefit to you contact us to discuss your needs on 01527 821 440.
